Visiting a museum
For visits to museums it is possible to rent a hand-held device or to use a personal smartphone. In the case of the hand-held device the user will be helped by the museum staff to complete the registration in accordance with the instructions for use given in the first part of this tutorial.
The Smartmuseum icon, indicated by a green button, can be clicked to begin the application.

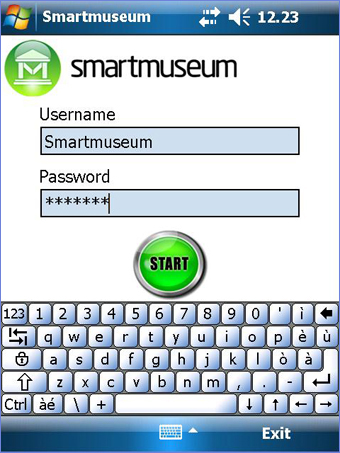
Upon clicking the icon, the Smartmuseum login screen will be displayed on the screen. The user, having already established a Smartmuseum username and password, may enter that information in the respective blanks. When finished, the login is completed by clicking the green "Start" button at the bottom of the screen.
From here the user is taken to the tour start-up screen where the tour details may be selected, including length of tour (in hours), companions (alone, family, friends, school group, or tour group), and motivation for the visit (adventure, art and culture, educational, or wellness and relaxing). This information will aid in creating a tour best personalized to the user's needs and interests.
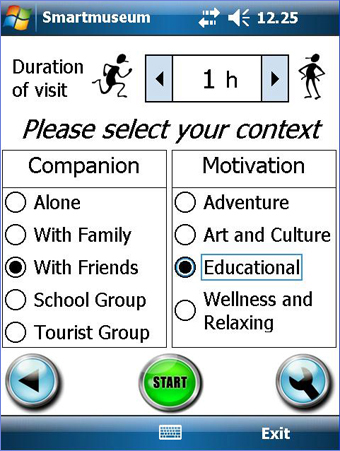
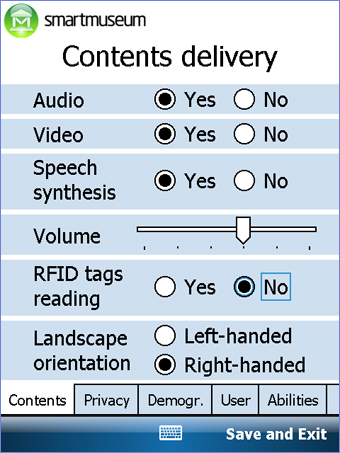
The user may change other personal settings by clicking on the tool icon in the bottom right-hand corner of the screen. For example, the speech synthesis option is located in this section, which allows users to listen to the textual information provided by Smartmuseum.
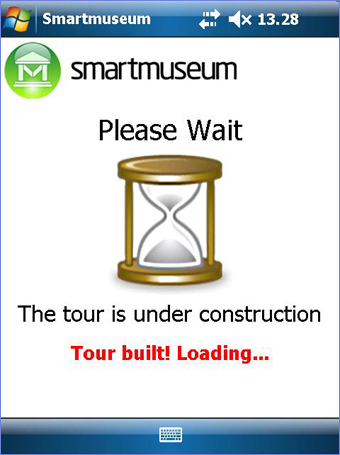
When the tour details and personal settings are completed, clicking the green "Start" button will commence the building of the personalized tour. After taking a moment to load, a list of objects comprising the user's tailor-made tour will appear.
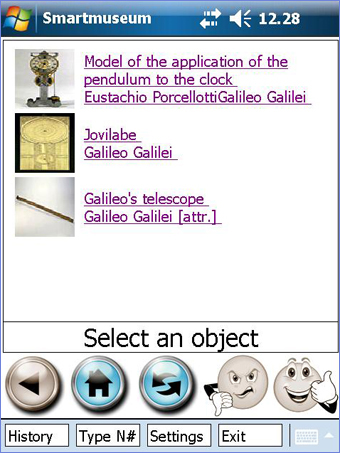
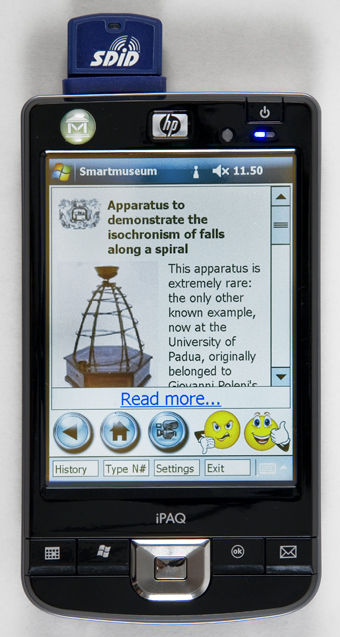
The user may view the explanation of and information concerning the object by simply clicking on the name of the object in the list.
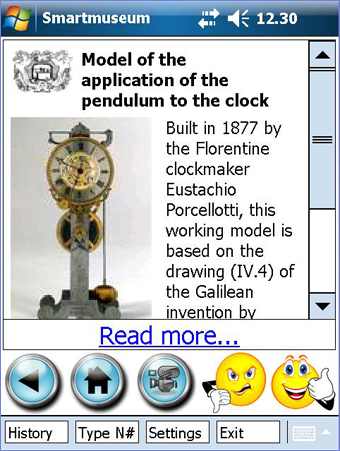
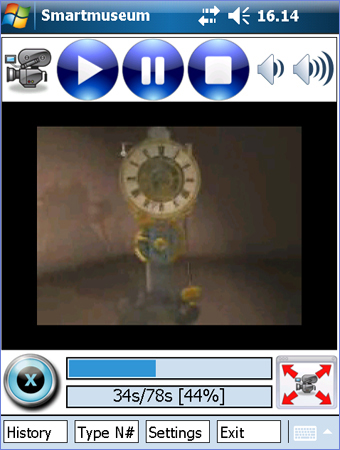
Some objects have a corresponding video explaining the function and mechanics of the object. The video may be accessed by selecting the video icon located at the bottom of the screen.
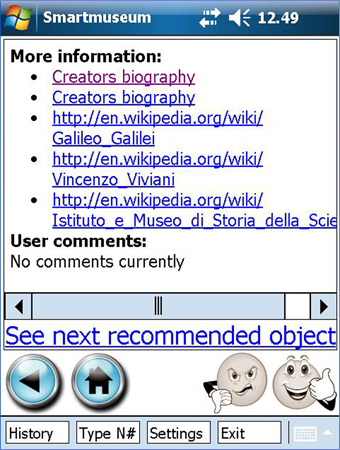
If the user desires to receive further information about the object, he/she may select "Read more" to access related links and recommended readings.
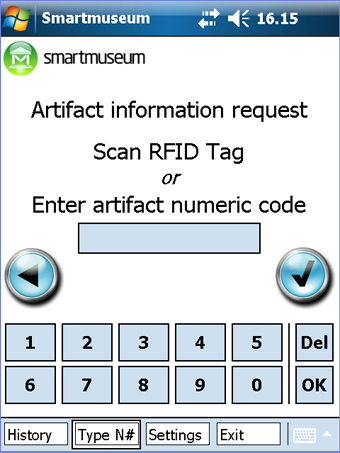
If, during the course of the tour, the user sees an object of interest that is not present on his/her list of suggestions he/she may hold the hand-held device to an object's identification tag. The tag or RFID contains a numeric code which holds the object's information. The device will read the tag using a WIFI signal and supply the information to the device. Alternatively, it is possible to enter the object's numeric code - as it appears on the tag - into the device as a means for accessing the information.
During the visit the system will keep track of the user's decisions in order to automatically assign a score to the proposed and visited objects. Additionally, it is possible to select either the "I like it" icon or the "I don't like it" icon at the bottom of the screen as a means for assigning a score to the object.

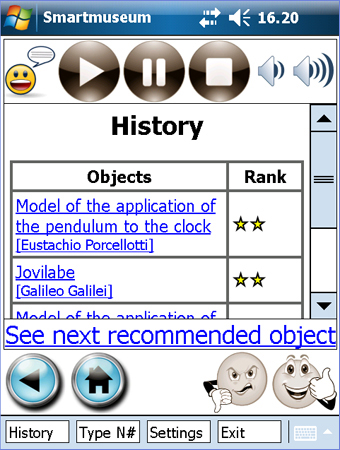
The "History" button, also at the bottom of the screen, allows the user to review the list of objects visited during the tour along with the score given to them.
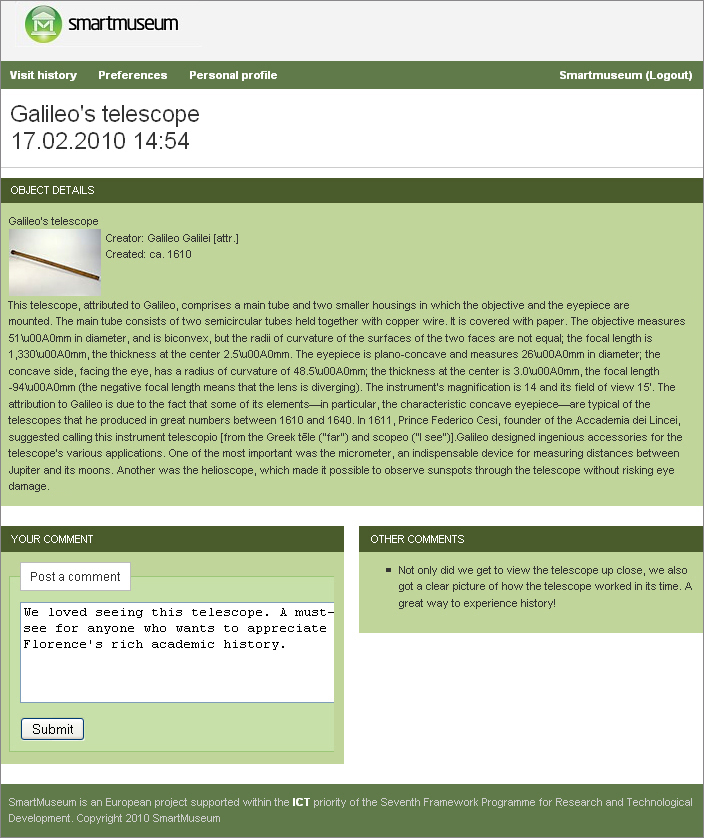
After the museum tour is finished, it is possible to leave a comment for other Smartmuseum users. Using a PC and the user's Smartmuseum account, the user may visit the Smartmuseum site at http://app.smartmuseum.eu. After using the individual's Smartmuseum username and password to log-in to the site, the user may select "Visit history" at the top of the screen to view his/her object history. By clicking one of the names that appear on the right side of the screen, the user can then leave a comment in the text box for that particular object